Bean Me Up!!!! I need my coffee!!!😀😀😀👽👽Another shaker card today using Trinity Stamps, Espresso-Terrestrial Stamp Set. I am not sure if it has been released yet, I got mine with a bundle purchase on the last release.
For the card background, I used a medium purple cardstock with the Time Warp Letterpress Plate and Fuchsia Flowers Glimmer Foil. I saved the foil that was leftover and foiled another piece of cardstock for the coffee cup label.
For the coffee cup, I used the Tip and Sip Coffee Shaker Die Set. I cut the five of the shaker frame pieces, and trimmed out the inside pieces to the ones I chose to you use would move a little freer. I glued the five frames together to create my shaker well. The background of my cup is a medium brown piece of cardstock.
Once I had my well created, I filled it with Espresso Ground Confetti Mix, and a few Fuchsia and Grape Sparkle Spots Flat Confetti Mix. I kind of overfilled it, so they don't move as well as I would like them, but that's okay! I sealed up my well with a piece of acetate cut with the die. The outside of my coffee cup is cut from a brightish green card stock. I dusted the edges with a little Rustic Wilderness Distress Oxide Ink. The lid is cut from a very bright turquoise cardstock. I used a Copic maker to enhance the embossed lines to give it a little more dimension.
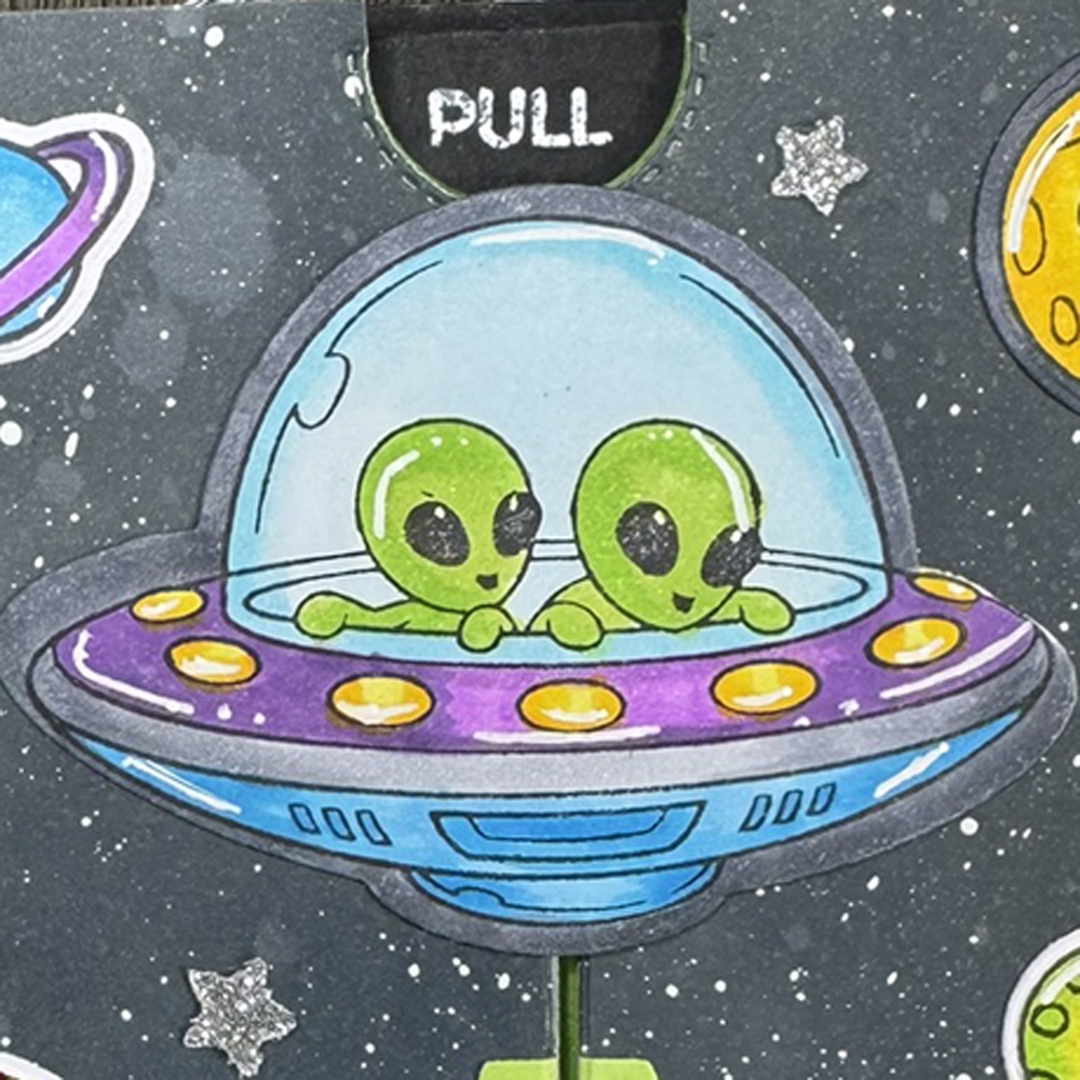
I stamped the image with the Espress-Terrestrial Stamp Set and added the "humans" being abducted with the Abducted Stamp Set. I colored it with Copic markers in the following colors:
B02,
B04, BG05
RV32,
V12, V15, V17
YG00,
YG01, YG23
B0000,
BG01
Once I had everything put together, my card felt a little naked. I really wanted to incorporate the little sayings that came with the stamp set, so I cut circles out of cardstock with the Clean Cut Layers Circles Set A to fit the sentiments. I inked them with Distress Oxide Inks in Picked Raspberry, Squeezed Lemonade and Ripe Persimmon. I used the coffee bean stamps to make the "craters" in my new created "planets/moons". They didn't stamp out real well, but I was using Distress Oxide Inks and they probably would have worked better with other inks.
As I was making this card, I thought that it would be fun to put in a gift card holder on the inside left. I used the die that comes with the Coffee Mug Card to the card holder.
The inside sentiment is from the We've Come For Cake Stamp Set. I thought that the combination of the two sentiments was just right for this card.
That is pretty much it for this card.
Thank you for stopping by and I hope you have a wonder day!
Sandy