Monday, January 29, 2024

Hey There Love Bug!


Just a quick post today for a quick card to make.

I had a friend who needed a card right away that had a "Love Bug" sentiment. So I kept this one to dies only.

I used an older printed gingham paper that Lawn Fawn came out with a couple of years ago. The edges are inked with Mustard Seed Distress Oxide. I used Claire's ABC's to stamp part of the sentiment, then cut the letters from Red Barn cardstock and white cardstock using Finley's ABC's. I highlighted the letters with a white gel pen.

I cut the leaf from Cilantro and Noble Cardstock using the Lady Bug and Leaf Die. I cut the lady bug from Guava, Licorice and Bard Red Cardstock. I did do a little inking on the Cilantro part of the leaf with Rustic Wilderness Distress Oxide to soften it a little.

I sprinkled the card with a few hearts that I had previously cut using the Hearts and Stars Skinny Tag,.

This is a very quick card that packs quite a punch with it's simplicity and color. I hope you might decide to give it a try.

Thanks for stopping by. Have a super day!

Sandy

Sunday, January 28, 2024

Riding By Valentine


Hello again friends! I am still having some fun with Valentine's Day cards. I think the little mice are my favorite critters that Lawn Fawn does.

For this card, I did a little bit of masking to get those hearts, mice and mail in the little wagons. It wasn't too hard so I would encourage you to watch my video to see how I did it. I also had some fun inking the background. I wish that Lawn Fawn had a Slimline Mountain Stencil which can also be seen on my YouTube Video.

The Distress Oxide Inks that I used on the background are Cracked Pistachio, Lucky Clover, Spun Sugar, Kitsch Flamingo and Tumbled Glass. The stencils that I used are the Slimline Grassy, Slimline Cloudy and the Mountain Stencil. I added hearts to the mountains using the Falling Hearts stencil.

The stamp collections I used are: Hay There, Hayrides, Hay There, Hayrides Mice Add On, Simply Celebrate Hearts, Oh Gnome, You Are Sublime, and Special Delivery.

I used Copic Markers in the following color combinations:

Reds:  R14, R29, R39

Pinks:  R11, R20, R22

Browns: E30, E33, E35

Blues: BG000, BG01, BG02

Grays: C1, C3, C4, C5, C6

To finish up the card, I added a little bit of glitter to the edges of the snow on the mountains, The card also needed a little something in the sky, so I used the Puffy Cloud Frames Die to cut out some clouds from white cardstock.

I love the way the little trailers turned out and I hope you do also.

That's all I have for today. Thanks for stopping by and I hope are doing well!

Sandy

My You Tube Video


Thursday, January 18, 2024

Be Mine Valentine


Hello! I have another Valentine today. It doesn't have the traditional colors but it has the traditional symbols. I am really enjoying playing with the new release from Pretty Pink Posh and I hope you enjoy reading about how I made the card. 


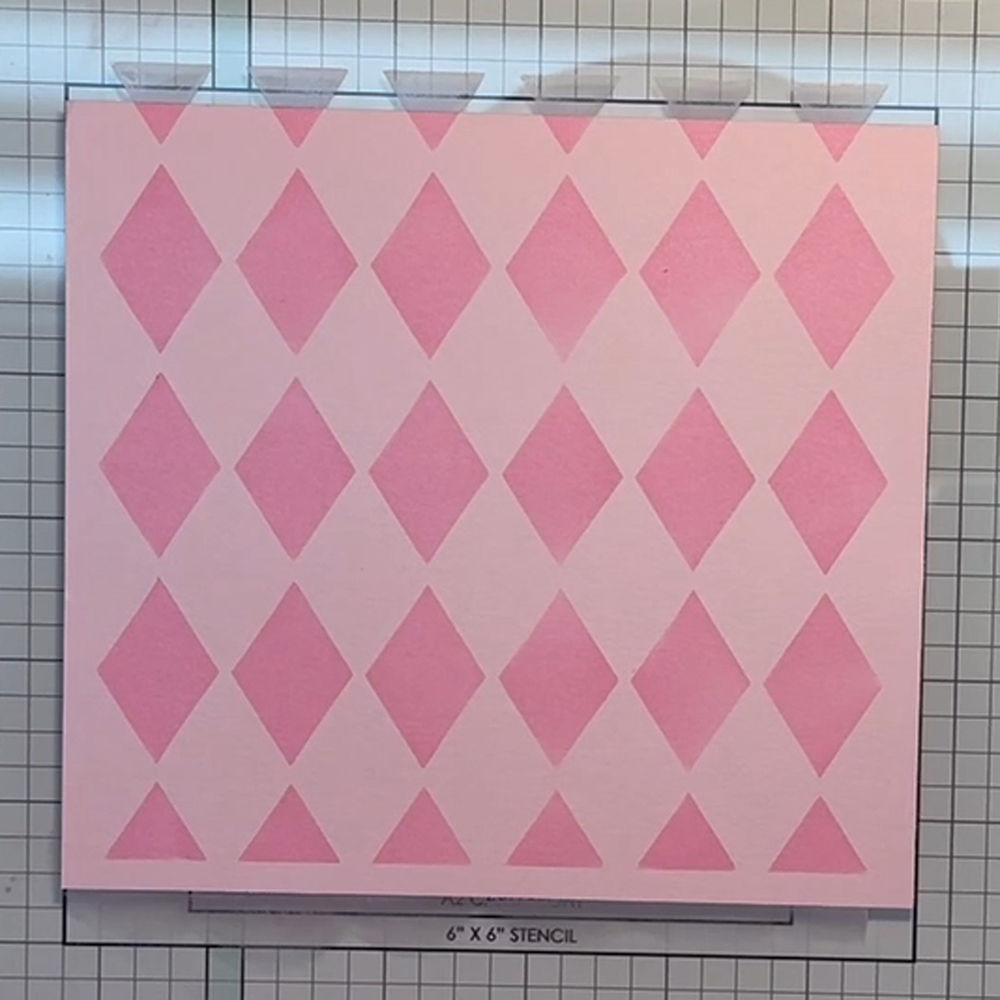
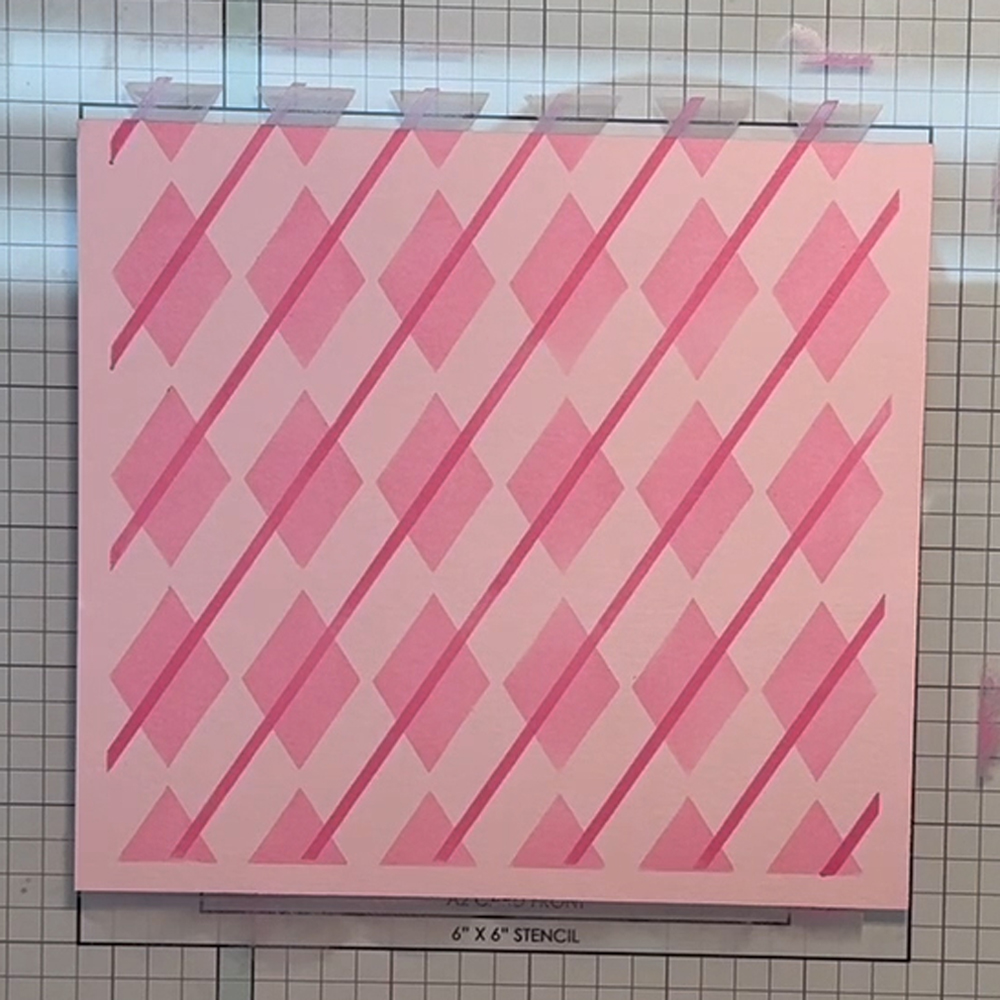
I started out with a piece of white cardstock cut at 5" x 6".  I like that size because it gives me a little wiggle room when I cut it to size.  I am using the Layered Argyle Stencil on a piece of pink cardstock. For the first layer I am using Kitsch Flamingo Distress Oxide Ink. For the second and third layers, I used Picked Raspberry Distress Oxide Ink. I lightly speckled the paper with watered down ink to add some dimension.

For my card background, I am starting with a piece of cardstock cut to 5.5" x 7.75" . I will score it at 3.5". I have cut a piece of acetate, 1" x 5.5" and I will apply it withe strong glue tape at the bottom of the 3.5" end of my card. I will center and glue the XOXO Heart Border on the acetate. And then cut off the extra pieces of the border at the edges.

Next I will trim my paper that I have stenciled to 5.5" x 3.5" and glue that above my XOXO Heart Border.

I have stamped the three cupcakes that I am using from the Valentine Cupcakes Stamp Set for this card . I am using Xpress It Blending Card and Copic markers to color the images in.

The colors I am using are:

  • Pinks: RV02, RV04, RV06
  • Purples: V01, V12, V15
  • Yellows: Y13, Y15, Y17
  • Reds: R29, R30, R32, R35

I usually add a little bit of glitter to most of my cards unless I am using a gel pen to highlight. For this card, I used a glue pen and drew the glue where I wanted it and then dipped the cupcake in micro prisma glitter. You could also use Stickles if you have the time to wait for them to dry.

I used the new Hot Foil Be Mine plates with the Be Mine Shadow Dies for the sentiment. I didn't have the right shade of yellow cardstock, so I used Squeezed Lemonade Distress Ink to color my white cardstock after I foiled it. I do that often, you just have to remember to buff off the ink on the foiling.

The fun part is always putting everything together to finish the card. I really like the way this card turned out. I think that the cupcakes are just darling and could definitely be used for any time of the year.

Thank you for stopping my today. I hope you are having a great day!

Sandy


My You Tube Video


You Are Sweet!


Hello! I am still in that Valentine mood. How about you? I think that this card could be given to someone who just has a sweet tooth also.

I am really enjoying Pretty Pink Posh's Valentine's release. I made a card a couple days ago where I put the XOXO Heart Border at the bottom of the card, so this time, I am going to put it up into the body.

I have used the new Layered Heart Lattice Stencils with Kitsch Flamingo and Prize Ribbon Distress Oxide. I watered down both colors and speckled my paper to tone down the harshness of the white. I am going to cut that to 5.5"x 4.25". Because I used a die with a decorative edge, I will then cut it again, so I have a piece, 5.5"x 2.375 and one 5.5"x 1".

I will cut my card base, 5.5" x 6.625". You will still score it 4.25" from one end. I am also going to cut a piece of cardstock 5.5"x1" to cover where I will be attaching the acetate.

I will place strong glue tape on the cut edges of my patterned paper and apply a piece of acetate cut to 5.5"x125" in between the two making a window to place the XOXO Heart Border. I will center and glue that border on trimming the excess from each side. I will then glue my patterned paper to the short side of the cardstock base and use the smaller cardstock piece to cover the acetate and a glue strip on the lower part of the card.

I have cut some lighter pink hearts using the heart die that comes with the XOXO Heart Border Die and glued them on to add some contrast.

***I have a video on YouTube that makes this whole a lot clearer and easier to follow!

Now it's time to color. I have stamped all of the chocolates from the Sweet Chocolates Stamp Set. I wanted all of my candy pieces to be chocolate, so I am using browns.

I have used Copic Markers in the following colors to match my paper.

  • R24, R29, R83, R85
  • RV06
  • E11, E13, E15, E31, E33, E35, E23, E25, E27, E29

I highlighted all the chocolates and hearts with a white gel pen instead of using glitter for this card.

I adhered some hearts from the new Heart Cover Plate Die, on the upper part of the card to add some color and interest. I then popped up the chocolates and hearts and sprinkled them across the card.

I used the sentiments from the stamp set. I heat embossed those with embossing powder but I have no idea the name of brand but was absolutely delighted that it matched so well.

I think that this card is just delightful and I hope you do also. Thank you for stopping by, and I hope that you are having a "sweet" day!

Sandy

My You Tube Video