Monday, December 30, 2024

Santa Needs A Little R&R!


Hello my card making friends and Happy New Year!  I think that Santa deserves a little bit of R&R after such a hectic season.

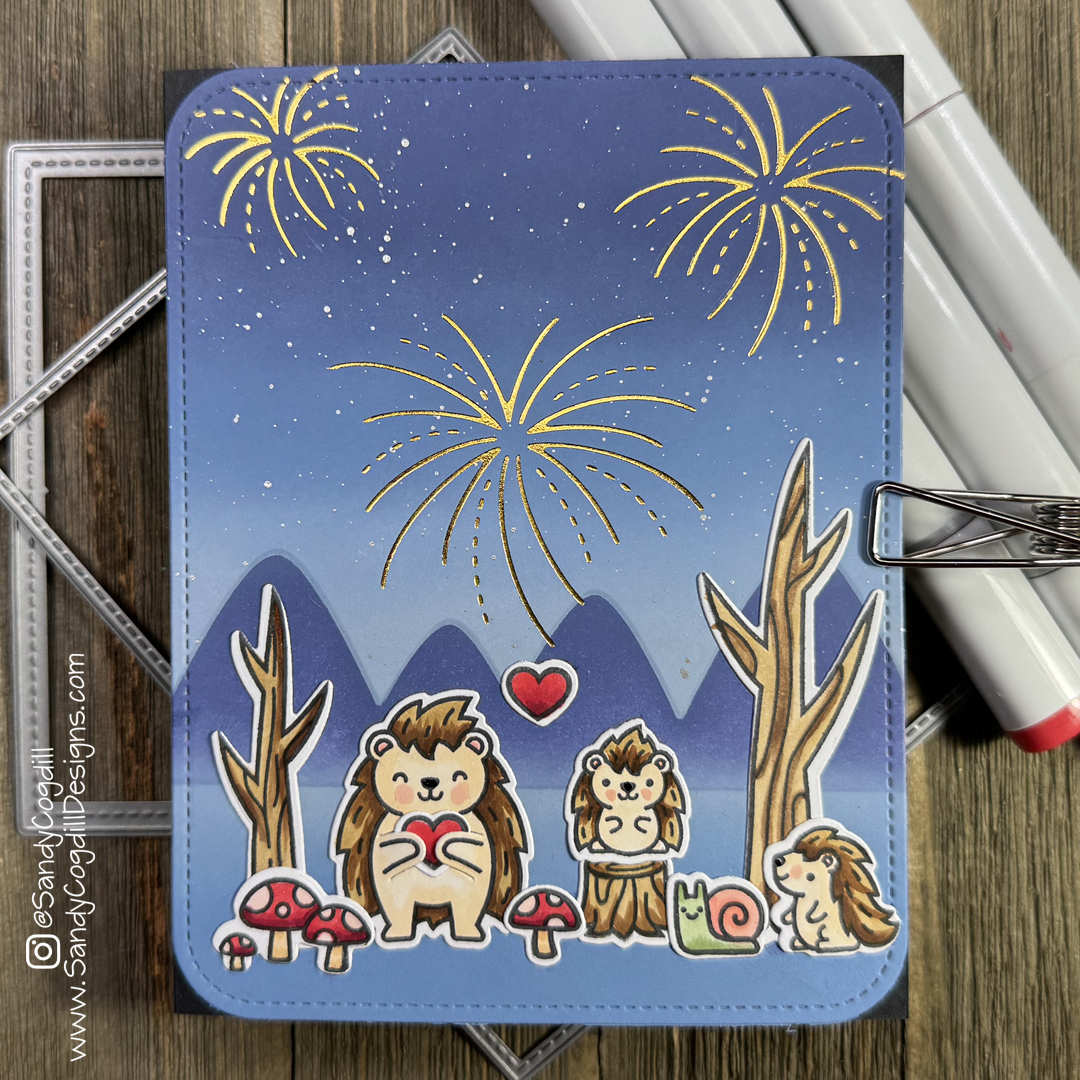
For this card, I inked the background with Chipped Sapphire, Blueprint Sketch and Tumbled Glass Distress Oxide Ink.  I recently purchased some of Lisa Horton's Cloud 9 Interference Ink Pads and thought that I might play around with them using the Layered Fireworks Stencil.   They are a little bit different than some of the other inks I've used but I am very intrigued with them.  I have some other ideas on using them so I will share them in the future.  I do like the way the fireworks turned out.  

For the sandy ground, I used a light tan cardstock and added a little Vintage Photo Distress Oxide to add a little definition and texture.  I cut the hills using the Lawn Fawn Hillside Border Dies.

The Santa is from the Hau’oli Mau Lanui stamp set.  I also used the die to cut him out.  I really like this die because it does such a nice job cutting out the area between the palm trees and Santa.

I colored the image with Copic markers in the following colors:

  • E13, E23, E25 - Palm Tree Trunks
  • E27, E29 - Coconuts
  • YG01, YG05, G05 - Palm Tree Fronds
  • YR02, YR07 - Orange Shirt
  • R11 - Cheeks
  • E00, E01 - Skin
  • Y04, Y15 - Yellows
  • R17, R27, R29 - Reds
  • BG13, BG15 - Shorts
  • C0, C1 - Beard

For the sentiment, I used Simply Sentimental: Happy and heat embossed it with white embossing powder.  I also used the coordinating die to cut it out.  The "New Year" is also from that set.  I stamped that using just a regular ink.

This card just makes me smile.  I can definitely relate to needing just a little bit of time to regroup after the holiday - how about you?

Thanks so much for stopping by today and again, I hope you have the happiest New Year!

Sandy


Happy New Year Pandas


 Hello!  Just wrapping up 2024.  I created this card for the current Lawn Fawnatics Challenge #187- Happy New Year Inspiration.

Even though I have the Fireworks Hot Foil Plate, I wanted to use the newer Bokeh Circles Hot Foil Plate for this background.  I started off hot foiling the sentiment using the Foiled Sentiments: Happy New Year with silver glimmer foil on a piece of black cardstock cut 6" x 6".  I place the plate towards the top of the cardstock close to the center.  Once it is hot foiled, I cut the cardstock to 4" x 5.25".  This is the easiest way for me to make sure my sentiment is centered and straight.  I use the smaller corner piece for the Bokeh Circles set to foil the corners using Mini Rainbow Glimmer Foil.  

For the grass and the bamboo, I wanted a little shimmer, so I spritzed a little Twisted Citron Distress Sprtiz on a piece of Cilantro Cardstock.  I used the Grassy Border to cut out the grass.  For the bamboo shoots, I used the Bamboo Forest Backdrop: Landscape to cut them out of the cardstock and then trimmed them off the frame border so that I just had the stalks.  I also trimmed of some of the leaves because they were covering too much of the foiled background.  


I stamped the images using the following stamp sets:

  • I Heart Pandas
  • I heart Panda Add On
  • All Party Hats
  • Party Animal
There definitely not a lot of coloring to this card, so I just used a few different Copic Markers.

I adhered the grass and bamboo pieces to foiled background using a liquid glue.  I then popped up my little Pandas to give the card a little dimension.  I then glued the 4.0" x 5.25" to a piece of silver glittered cardstock cut to 4.25" x 5.5".

I like the bold background with the green grass and bamboo shoots.  It is simple but impactful.

Thank you so much for stopping by today and I wish you the happiest of New Years ever!


Thursday, December 26, 2024

I Love You More Than Bamboo!


Hello my cardmaking friends!  Even though Christmas was yesterday, we aren't celebrating with the kids for a few more days.  On Christmas day this year, I spent a bit of time straightening up and reorganizing for the new year - it had been awhile since I had cataloged and filed my newer stamp sets.  It always feels good once that is done.  

Today, I made a shaker card using a few of Lawn Fawn's new release items.  The stamping is from the I Heart Pandas, I Heart Pandas Add On and All My Heart.

For the upper background, I used the Bamboo Stencils with Spun Sugar, Kitsch Flamingo and Picked Raspberry Distress Oxide Ink.  I didn't have the color of pink that I wanted so I first inked white paper with Spun Sugar.  I used Kitsch Flamingo for the bamboo stocks and Picked Raspberry for the little bumps.  Although you can't see the ground in the background of the card, I used the Hillside Stencils with Twisted Citron and Mowed Lawn.  

To create the front of the card, I used the largest of the new Lacy Rectangle Stackables with the new pearlescent cardstock.  I layered that piece on top of white cardstock that I inked with Picked Raspberry and trimmed it close to the lace edges.  To cut out the window, I used the medium sized Outside In Stitched Rectangle Stackables.  Once that was assembled, I adhered a piece of acetate behind the window opening. 

To create another layer on the card, I applied the Bamboo Forest Backdrop to the backside of the acetate window.  To do this, I inked white cardstock with Kitsch Flamingo ink and then spritzed it with Kitsch Flamingo and Picked Raspberry Spritz.  I really like the new spritzes, they add such a nice shimmer to the paper.  Once the spritz was completely dry, I applied wide double sided tape to the top of the inked paper and then ran it through my die cutter using the Bamboo Forest Backdrop.  Once I peeled off the tape liner, I applied it to the backside of the acetate.


The images were colored with Copic markers in the following colors:

  • RV00, RV10, RV02
  • RV14, RV25, R27
  • YG11, YG06, YG07
  • C2
Once I had adhered the images where I wanted them on the background, I created a "well" using double sided adhesive foam tape.  I sprinkled in some shaker elements along with some little hearts I cut out from scrap pearlescent and pink inked cardstock using the Sequin Mix Die.  I placed the top on the lower part of the card to seal everything in.  

On the front of the card, I added a few bamboo shoots, butterflies and a little bug.  The heart on the lower right corner is cut with smallest of the Lacy Heart Stackables.  The sentiment is from Henry's Build A Sentiment: Love and was heat embossed using black embossing powder.  


This is such a fun Valentines card don't you think?

Thanks for stopping by and I hope you have a Happy New Year.

Sandy


Wednesday, December 11, 2024

Happy New Year Swivel Surprise


Hello!  While I still plan on making a couple more Christmas cards this year, I wanted to make this New Year's card first.  This card is not only one of Lawn Fawn's Swivel Surprise card, it also has their new Foiled Sentiments: Happy New Year hot foil plate.  It is the perfect size for this card.


For the background I used Stormy Sky, Faded Jeans, Chipped Sapphire, Squeezed Lemonade, Mustard Seed and Carved Pumpkin.   I used the Mountain Stencil and the Nighttime Sky Stencil.  The lower part of the card is Faded Jeans and Stormy Sky blended from the darker color up to where I wanted the lower horizon line, which was up about 1.75" up from the bottom.  The mountains are blended with Chipped Sapphire.  From the mountains up, I blended Stormy Sky, Faded Jeans and Chipped Sapphire.  The moon is blended with Squeezed Lemonade, Mustard Seed and Carved Pumpkin.  I have a YouTube video showing how I blended the backgrounds.  I will link it at the end of this post.  Once  I had my backgrounds blended, I spattered watered down metallic silver watercolor paint to give the illusion of stars.  


Since, it is New Year's Eve, I wanted to light up the sky with some fireworks.  I used the Fireworks Hot Foil Plates with gold Glimmer Foil.  


The little friends on the card are from Porcupine For You and Porcupine For You Add On.  They are all colored with Copic markers in the following colors:

  • R35, R37, R39, R11
  • YG61, YG63
  • R20, R22
  • E55, E57, E59
The sentiment on outer swivel is from Henry's Build A Sentiment: Winter

I am just tickled every time I make one of these Swivel Surprise card.  They are so incredibly easy to do.

Thanks for stopping by and while there are still a few weeks left in the year, I sure hope that you have a Happy New Year.  

Sandy


Sunday, December 8, 2024

You're The Pepper To My Mint


Hello friends!  Today I have a card that is a play on the word "peppermint".  I don't know about you but I have loved peppermint for as long as I can remember.  

This is a fairly quick card to make and it would be a perfect couples card.

All of the elements of this card are available through Lawn Fawn.

The background of this card is Blue Jay Cardstock.  I used Lawn Fawn's, Itsy Bitsy Polka Dot Hot Foil Plate with cobalt Glimmer Foil to give the background just a touch of color without taking away from what was going in front of it.

I used Henry's ABC's with Tomato Cardstock and white cardstock.  I like to add a shadow to my letters to make them dimensional.  I used the same colors for the Cute Candy Cane Dies along with Nobile Fir Cardstock for the holly leaves.  

The sentiment is a combination of words from Henry's Build A Sentiment: Winter and Henry's  Build A Sentiment: Family.  There wasn't the individual stamp for the  word "the", so I clipped the  ""tis the" stamp.  I do this fairly often to make the different sentiments work for the theme of my card.  I love the Henry's Build A Sentiment Stamps because I can usually piece together the sentiment I want. This part of the sentiment was heat embossed with white embossing powder.

The little mice are from the Mice On Ice stamp set.  They are colored with Copic markers in the following colors:

  • E51, E53, E55, E57
  • R20, R21
  • R17, R27
  • G43, G46
I used a gel pen to add some highlights to the mice, lettering and candy canes.

That pretty much is all there is to this card!  Thanks for stopping by the blog and I hope you have someone that is the "pepper to your mint".

Sandy


Saturday, December 7, 2024

Here We Go A Waddling


Hello friends.  It has been quite a while since I used my Platform Pop Up Die from Lawn Fawn, so I decided that today would be a perfect day to play with it.  

It is funny how sometimes that the plan that I have in my head, keeps morphing until it is something else all together.  This is exactly one of those cards.  I had wanted to use the Treat Cart and the Treat Cart Add On: Coffee.  It didn't matter what I did, it just wasn't going to happen.   I had tree and the candy canes done, but finally settled on the caroling penguins from Here We Go A Waddling.  

I cut the base out of Peppermints patterned paper from the Candy Cane Lane Collection.  I used cardstock for the three tabs that hold the layers.  Using the Platform Pop Up Hillside Inserts, I cut the "snowdrifts" from white glitter paper and attached them to the tabs.

For the layer farthest from the front on the card, I made a Christmas Tree using the Build A Christmas Tree Die.  I used red and gold glitter paper for the trim and the star.  I didn't add anything else to the tree because I felt like the card was going to be busy enough.  

For the middle layer, I used the Cute Candy Canes Die.  After I constructed the candy canes, I used the Sparkled Garland Border Die to connect them. For the base of the garland border, I cut out four of them from green cardstock and glued the layers together together to give it a little more stability since it is going free standing.  I used red and gold glitter paper for the sparkles and white glitter for the candy cane stripes.  


I used Copic markers to color the penguins in the following colors:

  • R32, R35
  • C1, C3, C5, C9
  • YG61, YG63
  • Y08, Y17
  • E31, E34, E37
For the speech bubble above the penguins I used stamps from the Ugly & Bright, Christmas In The Desert and Simply Celebrate Santa.  I cut them out using a die from the All The Speech Bubbles.  

The sentiment on the front of the platform was created with Henry's Build A Sentiment: Winter.  

Once I had everything attached to the platform, I felt like it needed a little bit more.  I cut snowflake from white glittered paper using the snowflake dies from the Magic Iris Snow Globe Add on.  I attached the snowflakes to thin acetate strips and then glued them randomly on the platform.  


I am really happy with how this turned out considering that it was kind of a work in progress card.

Thank you for stopping by today and I hope that you have a great day!

Sandy 


Wednesday, December 4, 2024

Baking Spirits Bright!


Hello!  It is that time again so do a little holiday baking and card making.

Today, fresh from the oven, decorated cookies using Honey Bee Stamps - Honey Cuts Lovely Layers: Christmas Cookies.  

The paper for the background of this card is from Lawn Fawn's Petite Paper Pack Candy Cane Lane.  The striped paper is cut using the Lawn Fawn's Large Stitched Rectangle Die.  The inner paper was cut using Lawn Fawn's Outside In Stitched Rectangle Stackables.

Since my sentiment referred to baking, I thought a cookie sheet would be perfect to feature my little cookies.  The create the sheet, I used the second largest die from the Large Stitched Rectangle Stackable Die and their Stitched Rectangle Frames with a matte silver metallic cardstock.  I wanted to create a little depth on the sheet, so I cut two more rectangle frames from white cardstock. I glued the three frames together and then applied them to the rectangle.  You could make a shaker element with this sheet pan if you wanted. It would be really cute with some cookie type sprinkles in it.  


I cut the cookie bases from a medium brown cardstock.  For the cookie icing, I used a cream colored metallic cardstock.  Although there are many dies in the set to add  different colored enhancements, I wanted my cookie to be simple and not too busy.


I used Honey Bee Stamps - What's Cookin' stamps and dies for the sentiment.  I heat embossed it using Lawn Fawn White Embossing Powder and Wow! Embossing Ink Pad.

I used Bearly Art Precision Craft Glue to assemble the card.  

I added a few Honey Bee Pearl Stickers North Pole to make "sprinkles" on the cookie sheet.

I am really pleased with the way this card turned out and I hope that you have found some inspiration.  Thank you for reading and I hope that you are having an nice Holiday Season.  

Sandy


***This card has been featured on ScrapbookPal blog.  The links in this blog will take you to their online store.  


Monday, December 2, 2024

I'm Sorry Your Feeling Waffle


Hello friends.  Not only is it the Holiday Season, it is also the season for those pesky colds so I thought a Get Well card would be in order.  

Today I have another card using Lawn Fawn's Swivel Surprise Die.  This is such a fun and easy interactive card.  I wanted to have a fun scene at the bottom of my card but if I went with a standard A2 card, there wouldn't be enough room for everything I wanted for my scene.  This card is a 5.25" x 5.25" card, so I found that as I was working with the interactive part of the card, I had to increase the little arm 7/8" so that the mechanism would line up within the card as it open and closes.  

The patterned paper if from the Pint Sized Patterns Summertime Petite Pack.  This is such a cheery pack of paper, just perfect for a get well card.  

The stamp collections that I used in this card are:

  • Love You A Latte
  • A Waffle Lot
  • So Smooth
  • On The Mend
  • Let’s Toast
  • Dandy Day


All the images were colored with COPIC markers in the following colors:

  • B91, B93, B97 - Blues
  • YR01, YR02, YR07 – Orange Juice
  • Y00, Y02, Y08 – Yellows
  • R02, R05, R08 - Strawberries
  • R30, R32, R35 - Toaster
  • YR20, YR23, YR24 - Waffles
  • C0, C3, C5 - Silverware

The dies that I used on this card, other than the coordinating dies that go with the stamps, are:
  • Giant Sending Big Hugs
  • Valentine Borders
  • Swivel Surprise

This was such a fun card to make and I am looking forward to making some more Swivel Surprise cards in the future.  

Thanks for stopping by and I hope you have an amazing day!!!

Sandy